Recipes

Thursday, January 6, 2011

Painless (and fat free) Refried Beans


OK - I know for a fact that both my "p-town" cousin and I have been accused of making meals/food into a needlessly grandiose affair.  If I could count the times we've heard the phrase, "let's just keep it simple"...    For some reason she and I rejoice in not keeping it simple (sometimes).   This is not one of those times.


It's just beans, right?   How hard can it be to duplicate even the store-bought canned variety, not to mention a restaurant-quality result.   After much experimentation, and even a stint with Keith's pressure cooker that wasn't pretty, I was ready to concede defeat.  Thanks to my SIL Tracie for forwarding this recipe to me...it truly is the best one I've found for refried beans that don't come out dry or chunky.....and the best part is that no pre-soaking is required. Side note: I am firmly in the camp that believes there are nutritional benefits to pre-soaking any grain/bean, but sometimes reality gets in the way, and you want to be able to carry out a (relatively) spur of the moment idea.  (yes, I realize that 6-8 hours in the crock pot can hardly be considered "spur of the moment", however it is doable in the same day, which to me makes a difference)

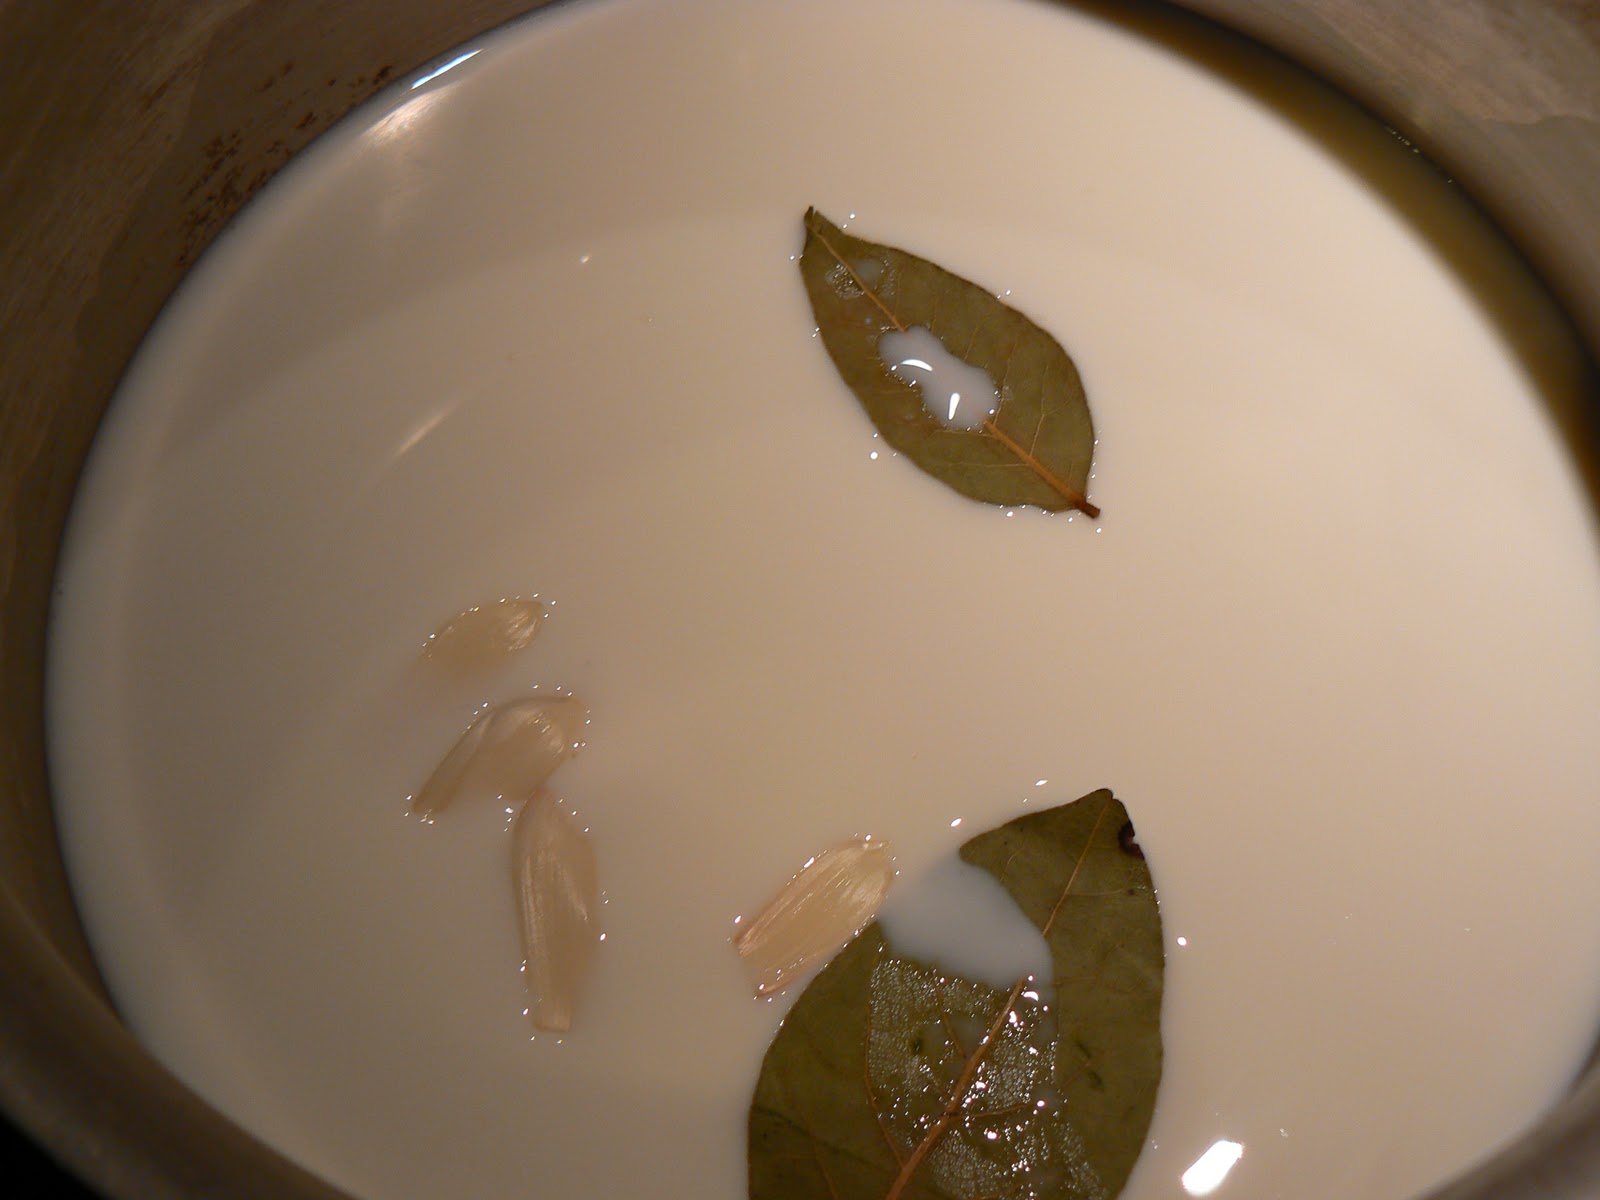
This recipe couldn't be any simpler.....really.   Beans, water, aromatics, spices, crock pot, and 6-8 hours.

Variations:   
*  clearly - I used black beans here instead of pinto.  I can only assume that any bean you'd want to have in a refried consistency would work.   Even chickpeas for hummus.
*  directions say to mash (which I did this time), but could easily be done with a food processor, or even a stick blender if you left enough cooking liquid.


Painless (and fat-free) Refried Beans
from allrecipes.com


Ingredients

  • 1 onion, peeled and halved
  • 3 cups dry pinto beans, rinsed
  • 1/2 fresh jalapeno pepper, seeded and chopped
  • 2 tablespoons minced garlic
  • 5 teaspoons salt
  • 1 3/4 teaspoons fresh ground black pepper
  • 1/8 teaspoon ground cumin, optional
  • 9 cups water

Directions

  1. Place the onion, rinsed beans, jalapeno, garlic, salt, pepper, and cumin into a slow cooker. Pour in the water and stir to combine. Cook on High for 8 hours, adding more water as needed. Note: if more than 1 cup of water has evaporated during cooking, then the temperature is too high.
  2. Once the beans have cooked, strain them, and reserve the liquid. Mash the beans with a potato masher, adding the reserved water as needed to attain desired consistency.

Wednesday, December 29, 2010

My FAVORITE Banana Bread

So, we all have those go to recipes, right? Whether it be for Chocolate Chip Cookies, Baked Ziti or for that addictive Spinach Dip. Sometimes it takes forever to find that nirvana recipe, other times you make it and just KNOW and never even try another recipe. For me, I found my ultimate Banana Bread recipe early on in my married life in "The Martha Stewart Cookbook." The secret ingredient? Sour Cream. The bread comes out so moist and heavy....its darn near sinful!

Martha Stewart Banana Bread
Makes 1 Large Loaf or 4 Small Loaves

1/4 lb (1 stick) unsalted butter at room temperature
1 cup sugar
2 eggs
1 1/2 cups unbleached all-purpose flour
1 tsp baking soda
1 tsp salt
1 cup mashed very ripe bananas (I just throw in 2 bananas)
1/2 cup sour cream
1 tsp pure vanilla extract
1/2 cup chopped walnuts or pecans (I omit these probably 90% of the time)

Preheat the oven to 350deg.  Butter a 9x5x3 inch loaf pan or several smaller pans.

With an electric mixer, cream the butter and sugar until light and fluffy. Add the eggs, beating well after each addition.

Sift the dry ingredients (I don't sift, just combine) together in a separate bowl, then combine with the butter mixture. Blend well. Add the bananas, sour cream, and vanilla.  Stir well.  Stir in the nuts and pour into the prepared pan.

Bake 1 hour, until cake tester (ie. toothpick in my kitchen) comes out clean. Turn out onto a rack to cool. (I usually let it cool in the pan for 5 to 10 minutes before turning it out onto the rack.)

Result: SO GOOD with a think layer of butter while still a touch warm. Sometimes I even toast it a day or two later by the slice in the toaster. Num! Other variations include adding a 1/2 cup of chopped chocolate chips.

On these cold and rainy NW winter days, things like warm and moist Banana Bread are simply the best comfort food.

Until next time, keep on Baking!

-The P-town Cousin

Tuesday, December 28, 2010

Lasagna Bolognese


Back in the days where I ate out a lot, lasagna was always my go-to thing - and I judged all restaurants (Italian or otherwise) by the quality of their lasagna.   I also went through many different iterations of the recipe at home, and am not sure I've ever been truly satisfied with any one recipe.   


This particular recipe comes very close for two reasons.  One, it uses a bechamel sauce instead of ricotta (which seems to be the bone of contention for most lasagna haters out there) - it's very creamy, and not at all gritty like ricotta can be.  That said, I will have a separate post touting the virtues of homemade ricotta vs. the "stuff" you buy in the store....but that's another day.


Two, the sauce is not overly tomato-ey, and lets the other flavors come out.


It is definitely not a quick meal to prepare.  It helps immensely if the sauce can be made the day before the meal - then all that is left to do is whip up the bechamel, cook the noodles, and assemble the lasagna.  


The recipe doesn't call for it - but I like to criss-cross my noodles.  One layer going the long direction, one going the short direction, and so on...


A side note about food blogging...   Much more time intensive with photos.  It's not negligible to drag the camera out to get photos of raw ingredients and/or the steps in the process.  If it didn't improve the final product so much, I might scrap it all together.  Hence the time lag between posts; I can only hope it gets to be second nature soon.

Lasagna Bolognese
adapted from Tyler Florence's Dinner at My Place cookbook

Recipe calls for homemade pasta - I used dry.

Bolognese


Bechamel


  1. 1Make the Bolognese. Put onion, carrot, celery, garlic, and sage in a food processor and process until you have a smooth vegetable pulp. Coat a large, heavy pot with oil and set over medium heat. Add vegetable pulp and saute until fragrant and some of the moisture has evaporated, about 5 minutes. Push the vegetable mixture to one side of the pan. Season ground beef and pork with salt and pepper and add to pan. Stir and break up meat until it is brown, then dust with the flour before adding wine, tomatoes, milk, and cinnamon. Bring to a boil, then reduce heat and simmer about 1 1/2 hours, uincovered, until sauce is thick. Add parmesan and parsley and season with salt and pepper if needed. Set aside while you make the bechamel.
  2. 2To make the bechamel, set a large saucepan over medium heat. Add milk, garlic, and bay leaf and bring to a simmer to infuse milk with herbs. set a large saucepan over medium low heat. Add butter and melt, then sprinkle with flourwhile stirring with a wooden spoon. Once flourhas been combined with butter, grab a whisk and gradually pour in the herb infused milk, passing it through a sieve to strain out the aromatics. As the sauce thickens, continue to whisk over low heat, then add nutmeg. Season with salt and pepper and set aside to cool slightly.
  3. 3Preheat oven to 350°F To assemble the lasagna, cut fresh pasta to fit pan if needed. Coat the bottom of a 13x9 pan with a thin layer of bechamel. Top with a layer of lasagna noodles. Top noodles with a layer each of bechamel, bolognese, and mozzarella pieces. Continue with layers until you have three complete layers, finishing with mozzarella.Sshower the top of the lasagna with parmesan and parsley. Bake, uncovered, on a tray ( to catch drippings) in the center of the over for 1 hour. If the top starts to brown tent with foil. Let the lasagna stand for 


Thursday, December 23, 2010

Orange Glazed Ham Steaks with Brown Rice Pilaf

Let me just start out by saying "Merry Christmas, Maria" I am finally posting to the blog! Moving on....I have a subscription to Taste Of Home magazine compliments of my parent's 83yr old next door neighbor. A couple of years ago, while I was still working at my dad's home office, I took my son over to see the neighbor as she doesn't have any grandkids of her own and she loves getting to play with my son. While they were digging in her garden out back, I took a moment to sit on her back deck in the sunshine and read some of her Taste Of Home mags. Anyways, long story short, she saw me reading, got my address from my dad and ordered me a 3 year subscription. Tonight I decided to make a recipe out of the December/January 2011 mag. The recipe is really simple, quick AND it is delicious! How great is that? I think next time I make a whole spiral ham I am going to use this glaze recipe.

ORANGE GLAZED HAM STEAKS
Prep/Total Time: 20 min
Yield: 7 Servings

1/2 cup Orange Marmalade (Normally I am not a fan....but great in this.)
2 Tbsp. REAL Maple syrup
4-1/2 tsp Orange Juice
1-1/2 tsp. Chili Powder
7 boneless fully cooked Ham steaks

In a small bowl, combine the marmalade, syrup, orange juice and chili powder.

Grill ham steaks, covered , over medium heat or broil 4 in. from the heat for 3-4 minutes on each side or until heated through. (Since it is December, I broiled mine instead of heading out back to the grill. Also, I put a spoonful of the marmalade on each ham steak prior to putting them under the boiler and spread the glaze around with the back of the spoon.) After flipping the steaks over, brush again with glaze.

BROWN RICE PILAF
Prep/Total Time: 20 min.
Yield: 4 servings (I would venture more like 6....maybe my servings were small.)

1/4 cup chopped green onions
2 tsp. Butter
1-1/3 cups instant brown rice (Yes, not as healthy as conventional brown rice....)
1/3 cup chopped walnuts
1-1/3 cups water
1/3 cup dried apricots, thinly sliced
1/4 tsp salt
1/8 tsp black pepper

In a small saucepan, saute green onions in butter until tender.  Add rice and walnuts; cook and stir for 1-2 minutes or until walnuts are toasted.  Add the water, apricots, salt and pepper.

Bring to a boil.  Reduce heat; cover and simmer for 5 minutes or until liquid is absorbed.  Let stand for 5 minutes.  Fluff with a fork.


We also had a simple green salad with ranch dressing for some vegetable intake as well. Everyone, even the picky little girl in my family, ate this! Hooray!!!!

Husbands Comments: "The ham steaks remind me of breakfast...." & "The rice has a bit of a doughnut flavor..." (I have NO clue where he got that last flavor/opinion from.)

Unfortunately, I wasn't thinking like a TRUE BLOGGER when I prepared/plated/ate this meal, so this time I am bereft of pictorial documentation. Please forgive me.....baby steps to blogging, right?

Until next time....keep on heating up those kitchens!
-The P-town Cousin

Saturday, November 27, 2010

FRENCH ONION SOUP


We were all craving something that was decidedly NOT poultry related this evening. An awesome glean of artisan bread from neighbors spawned the idea of French Onion Soup.  Lots of iterations out there - but decided to go with a classic recipe from Julia Child.


One of the big variables between recipes seems to be the amount of alcohol included.   BH & G only uses a few tablespoons.  Ina Garten 2 1/2 cups.  Hmmm.   I settled on Julia's recipe - she uses 2 cups.  The finished product is nicely balanced, and in no way did any of us think there was too much wine.   Next time, I'll go with Ina.


I used Swiss Gruyere cheese for a treat, but the recipe only calls for generic Swiss.   It simmers for a full 90 minutes - but the flavors really mellow over that time.


Serves 6


 2 tablespoons butter shopping list
1/4 cup olive oil
3 lbs onions, halved and sliced thin
2 cloves garlic, minced very fine
1 teaspoon granulated sugar
2 cups dry white wine
6 cups beef stock or chicken stock (the beef will make a darker, more robust soup)
salt and freshly ground black pepper
6 ovenproof soup bowls
12 toasted slices of French baguettes, 1/2 inch thick
2 cups swiss cheese, grated
3 teaspoons parmesan cheese, grated


In a large saucepan over medium heat melt the butter and oil together.  Add the onions, garlic, and sugar.   Saute until slightly colored, stirring occasionally (don't stir too much - you want them to brown), for 7 minutes.  Add the white wine, raise temperature to medium high, and bring to a boil.  Lower temperature back down to medium and cook for 5 minutes.  Add the stock, raise temperature to medium high and bring to a simmer.  Lower temperature to low and simmer *uncovered* for 1 1/2 hours (90 minutes).

At this point you can freeze the soup for reheating later (after thawing).  

To serve at this point, continue with steps: first, preheat your broiler.  Ladle the soup into the ovenproof soup bowls (6 of them).  Place two slices of toasted baguette onto the top of each soup bowl.  Sprinkle each serving with 1/3 cup of Swiss cheese, then 1/2 teaspoon of Parmesan cheese.  Place soup bowls onto a baking sheet and place in oven under preheated broiler.  Broil until the cheese melts (watch them carefully - depending on your broiler and how far the rack is from the heat, it can take anywhere to 45 to 90 seconds or so).  

Serve immediately.


Thursday, October 28, 2010

First Post


In honor of my beautiful wife Maria, and cousin Lindsay. I want to say.

FIRST POST!!!!

Fleisch - Fest photos. MMM. Preserved meats...